

Quick answer: Miner Wall Breakers wins by sending Miner to the lower-HP crown tower and Wall Breakers to the opposite lane simultaneously, forcing opponents to defend both threats at once. The chip damage accumulates over multiple cycles until the tower falls.
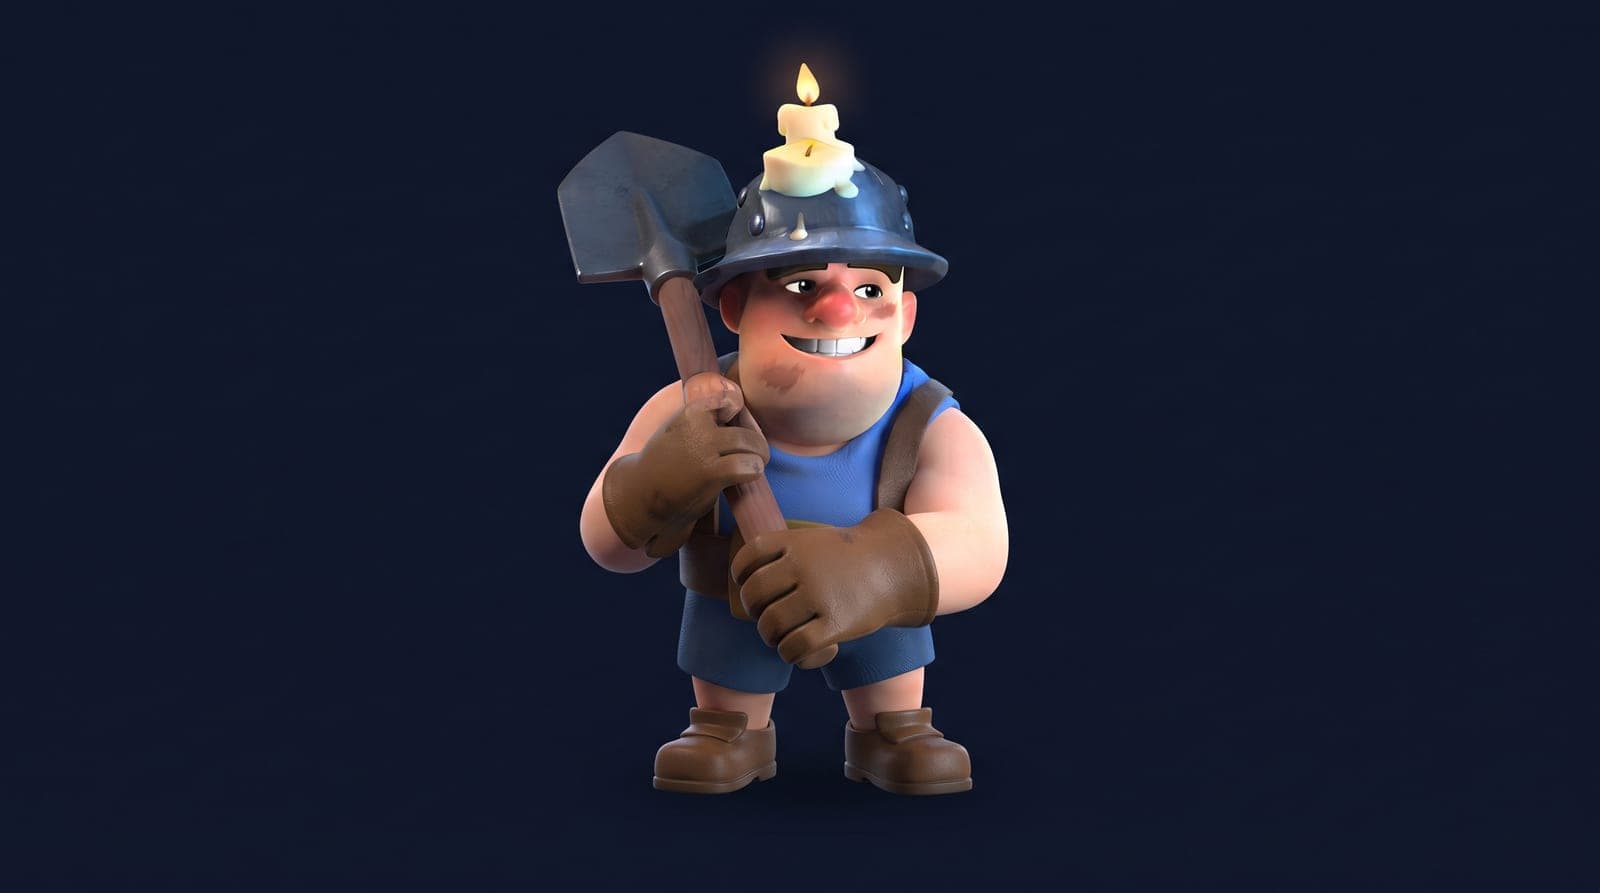
Miner Wall Breakers is the best chip damage deck in Clash Royale. No other combination chips the enemy tower for this much damage per elixir while simultaneously forcing the opponent to make defensive decisions under pressure. At 4000-7000 trophies it stays a strong ladder pick when played correctly, even after the April 7, 2026 Wall Breakers Evolution nerf.
The core concept is deceptively simple: Miner (3 elixir) surfaces under the enemy tower and tanks crown tower hits while Wall Breakers (2 elixir) detonate on impact. Together they represent 5 elixir of damage output against a tower that costs the opponent at minimum 4-5 elixir to answer cleanly. When you land both in separate lanes simultaneously, opponents frequently cannot answer both without overcommitting elixir — and that is when the tower starts falling.
This guide covers the full deck, exact placement mechanics, the split-pressure technique, when to escalate from chip to all-in, and matchup-specific guidance for the 8 most common archetypes you will face at 4000-7000 trophies.
The Full Deck and Why Every Card Earns Its Slot
The standard Miner Wall Breakers deck for February 2026: Miner, Wall Breakers, Goblin Barrel, Princess, Inferno Tower, Skeletons, The Log, Arrows.
Average elixir cost: 2.8 per card (22 elixir across 8 cards). This is a pure cycle deck — you spend as little as possible on defense and as much as possible on offense.
Miner (3 elixir) is your primary win condition. He surfaces under the enemy tower, tanking its hits while other cards deal damage. He is also a defensive card — Miner can surface on enemy troops, hitting for 194 damage every 1.3 seconds at Level 11 to disrupt pushes. His versatility is why he is worth 3 elixir.
Wall Breakers (2 elixir) are the fastest tower-attacking card per elixir in the game. They sprint at 3.5 tiles per second (very fast) and detonate on contact with whatever building they reach first. Against a clear lane (no buildings between them and the tower), they hit the tower for 281 damage per detonation at Level 11 (350 before the August 3, 2026 −20% nerf). Against a building, they destroy it — which often opens the lane for future pushes. Two elixir for one of these outcomes is always a positive trade.
Goblin Barrel (3 elixir) is your third win condition. Three goblins stabbing a tower deal roughly 600 combined damage before being cleared. More importantly, Goblin Barrel forces the opponent to decide: use The Log on the barrel (good for you) or use it on something else (also good for you). The Goblin Barrel is a bait card as much as a damage card.
Princess (3 elixir) provides long-range chip damage and is your primary swarm-clearing spell alternative. She hits from across the map for 168 splash damage at Level 11 on a 3-second attack, and forces opponents to use a spell — baiting out their Log or Arrows so your Goblin Barrel or Wall Breakers can land cleanly.
Inferno Tower (5 elixir) is your defensive anchor against tanks. Giant, Golem, P.E.K.K.A, and Balloon all die quickly to Inferno Tower's escalating beam. It is the most elixir-expensive card in this deck and should be used almost exclusively for tank defense — do not play it speculatively.
Skeletons (1 elixir) are your cheapest cycle card and a surprisingly effective defensive tool. Three skeletons can kite a Prince, delay a Giant for 2 seconds, or occupy a Miner long enough for your tower to deal significant damage. At 1 elixir, they are the most efficient card in the game.
The Log (2 elixir) is your primary spell. It clears Skeletons, Goblins, Barbarians, and pushes back small troops. The Log rolls the full 10.1 tiles down the lane with a 1.95-tile radius — one of the longest area-denial spells in the game. Hold it for Goblin Barrel answers (opponent) or use it to clear their swarm counter to your Wall Breakers.
Arrows (3 elixir) is your secondary spell for situations where The Log is insufficient — Princess across the map, Minion Horde, Bats on your Inferno Tower. Never use Arrows reactively on Goblin Barrel; that is The Log's job.
Want this kind of analysis for your own deck?
TrophyCoach reads your battle log and writes a personalized action plan against the current meta — free to start.
April 2026 Patch Update: The Evolution Slot Decision
The April 7, 2026 balance patch cut Wall Breakers Evolution area damage to troops from 258 to 192 (-26%). This is a direct hit to the chip-and-defend pattern the archetype is built around — the Wall Breakers death explosion no longer reliably wipes defensive swarms the way it did before the patch. Goblin Gang, Skeleton Army, Spear Goblins, and Bats all survive the explosion at low HP and continue chipping your tower, which turns previously-winning trades into roughly even trades.
The good news: the base Wall Breakers card is completely untouched. Damage, HP, running speed, and the death-impact damage to the tower are all identical to pre-patch. The nerf is exclusively to the evolution slot's area damage, not the card itself.
The recommended post-patch adjustment
Drop the Wall Breakers Evolution slot entirely and put a different evolution in your deck. The math is straightforward: the Evolution death explosion was the reason to run Wall Breakers as your evolution slot. At -26% area damage, the evolution is no longer worth the slot.
Recommended evolution swaps (in priority order):
-
Knight Evolution — clean tier-1 evolution, fits any deck, still the strongest generalist choice post-patch. Slot it into the Inferno Tower slot or replace Princess if you can stomach losing the long-range chip.
-
Skeletons Evolution — pairs naturally with the 1-elixir cycle slot this deck already runs. Evolved Skeletons create cheap defensive disruption without changing the deck's tempo.
-
Goblin Barrel Evolution — only if your play style leans heavily on the Goblin Barrel as a primary tower-damage source (note the August 3, 2026 patch cut its decoy Goblin damage 26%). Slightly harder to maximize value than Knight or Skeletons in this archetype.
The deck now looks like: Miner, Wall Breakers (non-evo), Goblin Barrel, Princess, Inferno Tower, Skeletons (EVO), The Log, Arrows. Same 2.8 average elixir cost, same pressure pattern, meaningfully stronger evolution slot.
Adjusting your play pattern post-patch
Three changes to your default play:
1. Commit Wall Breakers more conservatively. Pre-patch, you could send Wall Breakers into a stacked defensive clump (Skeleton Army + Goblin Gang) and reliably clear both on detonation. Post-patch, that commit is a bad trade — the evolution explosion used to be the bailout, and without it, Wall Breakers into stacked swarms just wastes 2 elixir. Save Wall Breakers for clean lanes or isolated single defenders.
2. Lean harder on Miner chip as primary tower damage. Pre-patch, Wall Breakers carried a big share of your tower damage. Post-patch, each Wall Breakers send is worth less, so Miner becomes your main source of chip. Cycle Miner more aggressively.
3. The all-in threshold moves from 1000 HP to 900 HP. You can no longer count on the Wall Breakers Evolution death AoE to clear the defensive swarm that opponents drop on your all-in push. If you commit at 1000 HP, the defending swarm survives the explosion and blocks your Goblin Barrel. Wait for 900 HP remaining or below before committing the full all-in sequence.
The matchups that change
Post-patch, Miner Wall Breakers' matchup spread shifts meaningfully:
- vs Hog Cycle: Slightly improved. Cannon also got nerfed (212 → 202) in the same patch, so your Wall Breakers survive slightly longer against their Cannon defense.
- vs Log Bait: Worse. Goblin Gang and Skeleton Army now survive your Wall Breakers explosion, so the bait matchup loses its defensive bailout.
- vs Graveyard Poison: Slightly worse. Same reason — the swarm clear is weaker.
- vs Beatdown (Giant/Golem/Lava Hound): Unchanged. The patch does not affect the Inferno Tower matchup.
- vs PEKKA Bridge Spam: Improved. Royal Ghost Evolution (their key evo slot) was heavily nerfed, reducing their own chip damage.
- vs Mirror Miner WB: Meta depends. If your opponent runs non-evo Wall Breakers + Knight Evo like you should, the mirror is roughly even. If they still run the stale Wall Breakers Evo build, you have a slight edge.
Is the deck still worth playing?
Honest answer: yes, but it is weaker at 5000-7000 trophies than it was before the patch. Expect a weaker deck in the post-patch window before the meta adjusts. If you already know and love the archetype, the updated deck listed above is still competitive and can climb to 7000+ with practice. If you are picking up Miner Wall Breakers for the first time, consider Hog 2.6 or the new Skeleton Dragons beatdown variants instead — both have cleaner meta positions post-patch.
For the full patch impact analysis, see our April 2026 Balance Changes Breakdown and Wall Breakers Evolution Nerf: Is Miner WB Dead?.
Miner Placement: Three Positions and When to Use Each
Miner's tile placement is the most important skill in the deck. The Miner can surface anywhere on the enemy's side of the map, and where he lands determines what the opponent's tower shoots at, what troops attack him, and how long he survives.
Position 1: Front Corner (Standard Chip Placement)
Place Miner at the front corner of the enemy crown tower — the corner of the tower platform closest to your side of the map. In grid terms, this is 1 tile inside the tower's near edge and 1 tile to the outer side (away from the King Tower).
This is your go-to placement in most situations. At the front corner, the crown tower wastes 1-2 shots hitting the ground before Miner surfaces, and once he surfaces, he stands between the tower and your opponent's defensive troops coming from the river. This means the defensive troops have to walk past Miner to engage him, adding 1-2 seconds of walk time during which your Miner is hitting the tower uncontested.
The front corner also minimizes the chance that the opponent can Tornado your Miner into a bad position — Tornado pulls units toward its center, and a Miner at the front corner is already at maximum distance from the King Tower's pull zone.
Position 2: Back Corner (Anti-Troop Placement)
Place Miner at the back corner of the enemy crown tower — the corner of the tower platform farthest from your side of the map, closest to the King Tower side walls.
Use this placement when the opponent has a defensive troop already positioned near the front of the tower (Knight, Valkyrie, or any pre-placed card). The back corner places Miner behind the defensive troop, meaning the troop has to turn around and walk to engage him — adding 2-3 seconds of free tower hits.
This placement is also used when the opponent is known to run Tornado. A Tornado centered near the King Tower cannot pull a back-corner Miner into the King Tower, because the back corner is closer to the King Tower than the front corner. The geometry makes the pull less effective.
Position 3: Center Approach (Pressure Placement)
Place Miner directly in front of the crown tower, center-tile, at the point where the tower platform meets the ground. This is the highest-damage placement because the Miner surfaces directly in front of the tower's face and begins hitting immediately with zero walk time.
Use this placement only when you have confirmed the opponent's Tornado is cycling. A center Miner is the easiest pull target for Tornado — if the opponent has Tornado ready, they can pull your Miner 2 tiles to the side and into the path of defensive troops in 1 second.
The center placement is your all-in option when the enemy tower is below 1200 HP and you need maximum damage output to secure the kill.
Wall Breakers Mechanics: Building Targeting and Path Optimization
Wall Breakers have a specific targeting rule that is critical to understand: they target the first building encountered on their path from spawn point to the enemy King Tower. They do not specifically target the crown tower — they target whatever building is closest to where they spawn.
This means if the opponent has a Cannon, Tesla, or Bomb Tower placed between the river and the crown tower, Wall Breakers will detonate on that building instead of the tower. This is not always negative — destroying a Cannon or Tesla is worth the 2 elixir cost and opens the lane for future Wall Breakers — but it is information you need to make placement decisions.
The Split Lane Rule
The core offensive technique in Miner Wall Breakers is the split-pressure send: Miner in one lane, Wall Breakers in the opposite lane, at nearly the same time.
The timing rule: send Miner first, then Wall Breakers 0.5 seconds later. Miner takes 2.5 seconds to surface after placement. Wall Breakers sprint at very fast speed and reach the tower in approximately 2 seconds from bridge placement. By sending Wall Breakers 0.5 seconds after Miner, both threats arrive at the enemy's side simultaneously — Miner surfacing under one tower while Wall Breakers detonate in the other lane.
The opponent must now decide in 1-2 seconds: which threat to answer first, and do they have the elixir to answer both? If they use The Log on the Wall Breakers, Miner gets free hits. If they chase Miner with a troop, Wall Breakers reach the tower. If they answer both, they have spent 5-7 elixir defensively while you spent 5 elixir offensively — at best an even trade, at worst a win for you.
The lane choice for Miner: always send Miner to the tower with lower HP. The tower that has taken more damage is the one you want to kill, and Miner's sustained damage output is more valuable against a weaker tower than fresh tower fire.
Sending Wall Breakers Against Buildings
When the opponent has a defensive building in a lane, Wall Breakers will detonate on that building instead of the tower. This is valuable in three scenarios:
First, if the building has already taken damage (from previous Wall Breakers or tower fire), the detonation may finish it off. A Cannon at 40% HP with 400 HP remaining can be destroyed by Wall Breakers in one send — 281 damage per detonation at Level 11, and both breakers land on an undefended building.
Second, destroying a Cannon or Tesla opens the lane permanently until they rebuild it. Three Wall Breakers sends into an open lane deal 843+ tower damage (281 per detonation at Level 11).
Third, buildings have no HP restoration. Every Wall Breakers detonation on a building brings it closer to destruction, which is a guaranteed payoff even if it takes 3-4 cycles to accomplish.
When to Switch from Chip to All-In
The entire Miner Wall Breakers strategy is chip damage accumulation — but there comes a point where switching from chip to all-in is the optimal play. That threshold is 1000 HP remaining on the enemy crown tower.
Below 1000 HP, the enemy tower is vulnerable to being killed by a single strong push. At this threshold, commit all resources: send Miner (center approach placement), immediately send Wall Breakers in the same lane, then drop Goblin Barrel on the tower. The opponent must answer a Miner tanking tower fire, Wall Breakers detonating, and three Goblins stabbing the tower simultaneously. The combined damage from all three is 700-900+ in a 2-second window.
If the tower has taken 2000+ damage (800 HP or lower), add Arrows to the sequence if Princess has baited out The Log. The Arrows kill any defensive swarm they deploy to stop the Goblin Barrel, guaranteeing the Goblins hit the tower.
Never go all-in above 1400 HP remaining unless you are in double elixir and your spell cycle guarantees it. The opponent always has enough HP to survive a single all-in push at normal tower HP levels, and going all-in early costs you the chip cycle advantage that the deck is built around.
Princess Chip and Baiting
Princess serves dual roles in this deck. Primarily, she chips the enemy tower from across the map — landing 3-4 shots (168 damage each at Level 11) before the opponent responds with a spell. Over a match, this adds roughly 500-670 chip damage to whichever tower she targets.
More importantly, she baits defensive spells. When the opponent uses The Log on your Princess, their primary Wall Breakers counter is temporarily cycled out. The Log costs 2 elixir and has a ~9-second cycle. Immediately after you see The Log spent on Princess, send Wall Breakers. They will reach the tower before The Log comes back around.
The same principle applies to Arrows. If the opponent uses Arrows on Princess, their Goblin Barrel answer is temporarily gone. Send Goblin Barrel immediately.
Track which spell the opponent uses on Princess and time your next push accordingly. This is the offensive rhythm of the entire deck.
Want this kind of analysis for your own deck?
TrophyCoach reads your battle log and writes a personalized action plan against the current meta — free to start.
Matchup Table: 8 Common Archetypes
Double Elixir Adjustments
Double elixir transforms Miner Wall Breakers from a chip accumulation deck into an aggressive closer. You can now afford to send Miner + Wall Breakers + Goblin Barrel in the same push while maintaining defensive elixir in reserve.
The double elixir sequence: start at 8+ elixir. Miner to the front corner of the weaker tower. Wall Breakers to the opposite lane bridge. Goblin Barrel to the weaker tower 1.5 seconds later (after Miner has surfaced and absorbed the first 2 tower shots). The opponent must defend Miner, Wall Breakers, and Goblins with 4-6 elixir — an impossible task without a pre-staged defensive structure.
If the opponent has an Inferno Tower or defensive building in the Miner's lane, adjust: send Miner to the back corner to avoid the building, Wall Breakers to the building lane to detonate it, and Goblin Barrel to the open lane after the building is destroyed.
At double elixir, cycle speed doubles. Your Skeletons and The Log cycle back in 4-5 seconds instead of 9-10. Use this to maintain defensive stability — Skeletons kiting, The Log stopping their push — while continuing to send Miner every 8-10 seconds.
Defensive Sequences: How to Handle Common Pushes
Against Hog Rider: Skeletons at the bridge buy 1.5 seconds. Inferno Tower placed 3 tiles from the river kills the Hog within 4 seconds. If they have EQ variant (Earthquake), Skeletons + tower fire is often sufficient — Inferno Tower is not worth playing if it will be instantly EQ'd.
Against Giant with support: Inferno Tower at 3 tiles from river, centered. Skeletons or The Log to handle the support (Witch, Minions, Mega Minion). After the Giant dies to Inferno Tower, you have a surviving Inferno Tower to use as counter-push deterrence while you chip with Miner and Wall Breakers.
Against Balloon: Arrows immediately on Balloon spawn. Princess provides ongoing air targeting from range. If Balloon reaches your tower, it will deal 550+ damage on impact plus death damage. Do not let it reach the tower — use Arrows preemptively when you know their Balloon is in hand.
Against P.E.K.K.A: Inferno Tower is your only answer. A 7-elixir P.E.K.K.A with 3,760 HP at Level 11 cannot be stopped cheaply. Inferno Tower locks on and burns through him once the beam reaches its third stage, which deals 847 damage per hit at Level 11. If they have Electro Wizard to reset the beam, Skeletons kite the Electro Wizard away to maintain the Inferno lock.
Advanced Technique: The Miner Bait-and-Switch
The Miner Bait-and-Switch is an advanced sequence that catches opponents completely off-guard. Here is the setup:
For 3-4 cycles, always send Miner to the front corner of the left crown tower. Train the opponent to place their defensive response (Skeletons, Knight, or Minions) at the left tower whenever they see Miner placed.
On cycle 5, send Miner to the right tower (front corner) simultaneously with Wall Breakers to the left tower. The opponent's defensive instinct is to place their Miner counter on the left side (where Miner always went). By the time they recognize the right-tower Miner and the left-tower Wall Breakers, they have misallocated their defensive cards.
This technique requires patience and consistency in the setup phase but produces some of the cleanest tower trades in the deck's toolkit.
Replay Review: What to Check After Losses
After each loss with Miner Wall Breakers, review these specific moments in your replay:
Wall Breakers target: Did they hit the tower or a building? If they consistently hit a building you were not expecting, note the position of that building and adjust your send angle or timing on future matches.
Miner timing on all-in: At what HP did you go all-in? If the tower had 1500+ HP when you committed everything, you went all-in too early. The all-in threshold is 1000 HP or lower.
Spell discipline: Count how many times you used The Log or Arrows on non-essential targets. Every spell used on a random Skeleton or their Princess is a spell not available for your Goblin Barrel timing window.
Princess baiting: Did the opponent consistently use The Log on your Princess? If yes, you should have sent Wall Breakers immediately after each Princess Log. If you did not capitalize on those windows, that was your primary missed opportunity.
Frequently Asked Questions
Why is Miner better than other tank cards for this deck?
Miner is positionally flexible — he can surface anywhere on the enemy's side of the map, making him impossible to pre-position against. Other tank cards (Giant, Golem, Knight) walk predictable paths that opponents can defend with one building. Miner forces the opponent to make a defensive decision in real-time, which creates the pressure that Wall Breakers exploit.
What destroys Miner Wall Breakers most effectively?
Tombstone is the hardest counter to Miner — it kites him away from the tower with skeleton spawns. Bomb Tower answers Wall Breakers before they reach the crown tower. A combination of Tombstone + Bomb Tower is genuinely difficult to overcome and requires the opponent to misplay or run out of elixir.
Should I upgrade Wall Breakers or Miner first?
Miner. His HP and damage scale with level more than Wall Breakers' does relative to its 2-elixir cost. A higher-level Miner survives more tower shots, giving Wall Breakers an extra second to hit the tower in the opposite lane. Upgrade Miner to card level 11+ first, then Wall Breakers, then Goblin Barrel.
Is Miner Wall Breakers viable above 7000 trophies?
The deck drops in effectiveness above 7000 trophies because opponents have near-perfect spell timing and rarely leave a lane open. The chip damage strategy requires opponents to occasionally misread your sends, which happens far less frequently at 7000+. Graveyard Poison or X-Bow 3.0 are generally stronger choices above 7000.
How do I beat Tombstone when it blocks my Miner?
Use Miner at the back corner position to bypass the Tombstone. If Tombstone is placed at 3 tiles from the river, send Miner to the back corner of the tower — Miner surfaces behind the Tombstone and hits the tower directly. Simultaneously send Wall Breakers into the Tombstone in the opposite lane to destroy it, opening the lane for future sends.